How To Create Google Ad Banner In Figma

For online promotion, you’ll need to optimize your website to appear on the google search list. Appropriate and beautiful Google ad banners play a vital role in making your SEO Optimisation more effective and turning your website in whenever someone searches for relevant information.
Let’s learn the steps to create Google Ad Banner in Figma and design the perfect banner for your website. Here I’ll show you how to create a Google ad banner using Figma and the features that will help you. So, let’s get into the topic right now.
How To Create Google Ad Banner In Figma
Creating a Google ad banner is not much different from creating banners and posters with Figma. Here are the steps that will help you understand how to create a beautiful Google ad banner with Figma.
Choose The Google Ad Banner Example
There are various sizes for Google ads. The ad banner for mobile display is different than desktop banners. You can choose a standard banner size and create your ad maintaining that size. If the banner size doesn’t match, Google might automatically crop your ad which will lose its appeal. You’ll find various free Figma Google ad banners examples in the Figma community.
Here, I have chosen a Google ad banner example for desktop to practice.

Create The Frame For Figma Google Ad Banner
Your frame size depends on the banner you choose. I have created a frame of 844 X 453 pixels which is identical to my reference image. You can always change the dimension if you need to fix your banner size.
Click the keyboards ‘F’ button and drag and release the corner of your frame. You can then change the dimension from the design panel or by clicking on any corner of the frame and moving it inward or outwards.

Design The Banner Background
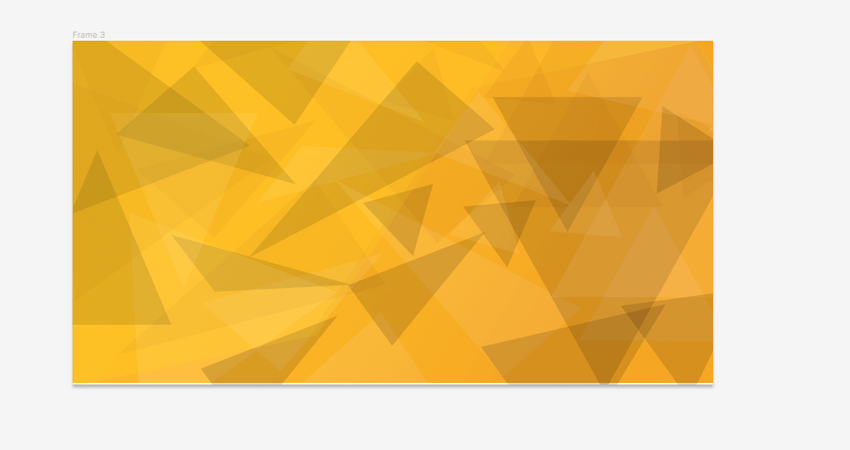
Now, it’s time to create a banner background. Click on the frame to change frame color for order and effect. You can also use a rectangle shape that will cover the full frame and apply color to it.
As the background is complete, you can secure it by grouping all the elements. Group them together by pressing ‘ctrl+ G’.
Include The Elements Of Design
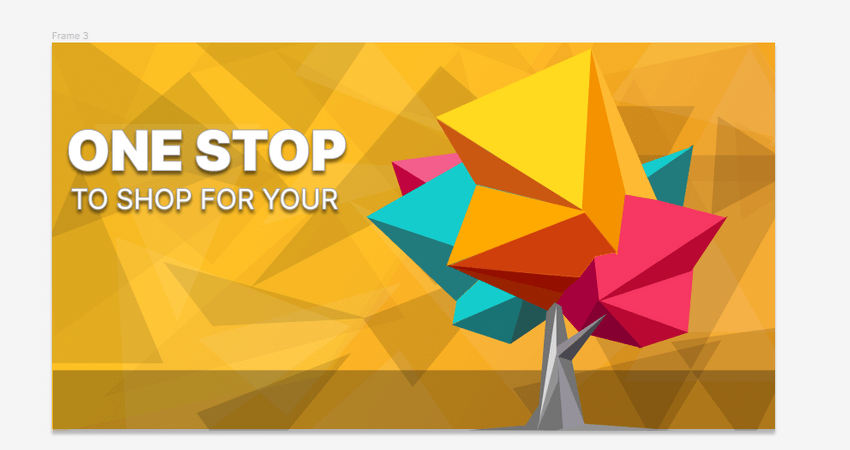
After you are done with the background, it’s time to create the main image for illustration. In my design, I have created an illustration of a geometric tree by using a paint tool and different shapes.
To design any illustration, you will find shapes and paint tools on the top panel of your Figma file. Choose anyone you feel comfortable with and use different colors and effects to give it a more refined look.
Align The Design Materials
After clicking on any object, you will find the alignment option at the top of your design panel. The design panel remains on the right side of the Figma file. The topmost row shows different alignment options. Use them to make your design synchronized.
Save And Share Your Beautiful Google Ad Banner
After you are done with your design and adding the ad copy, it’s time to save your design. Select all the layers and files you want to save and go to the bottom of the design panel of your Figma file. Then click on the plus button beside the export option. A few options will appear about how you want to save your file. Choose the file type and click on the export button.
To share your file click on the share button in the top right corner of your Figma file and add the username or e-mail address of the person with whom you want to share the file.

Final Words
Now you know how to create an amazing Google ad banner with Figma. So, let’s get into work and make the perfect banner for your website or campaign. Google ad banner not only increases the visibility of your website but also keeps the readers interested in your article so that they can take action and become potential customers for you. I hope you can create Google ad Banner in Figma easily and promote your business even more.

