How to Design Food Menu with Figma Today
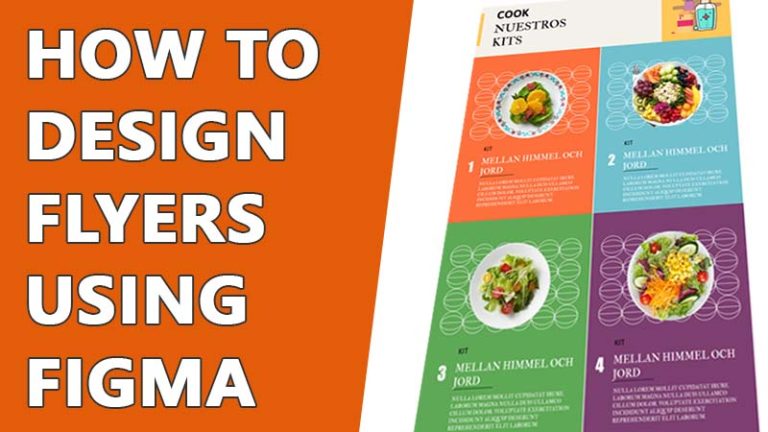
The food menu is quite a complicated design as you have to deal with strong colors and pictures. You might feel overwhelmed when dealing with them. But don’t worry. Figma is here to your rescue. To design a food menu with Figma, you can follow some simple steps, and voila! Your customized menu will be ready within minutes.
Figma is a great tool for designers. Although it is mostly used for UI/UX design, you can create amazing printable designs as well. In the restaurant business, you can’t skip the food menu. A lot happens in those pages. Here I’ve explained how you can design a food menu using Figma. So, without any delay, let’s get started.
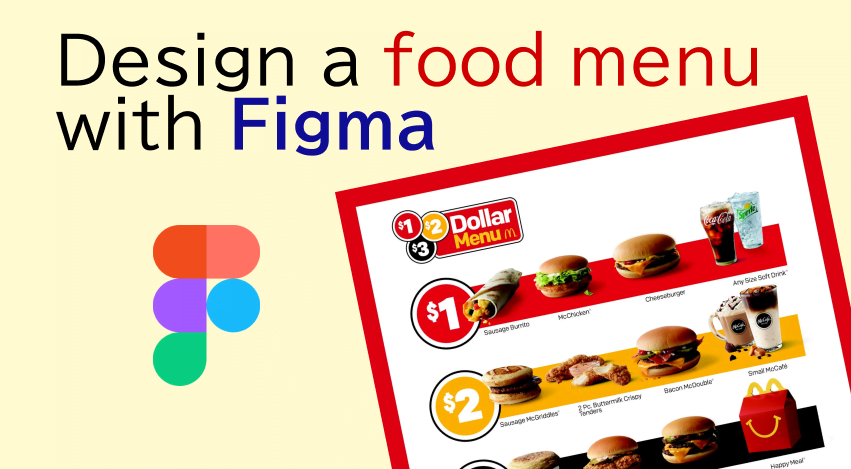
How to design a food menu with Figma
Here are the steps that you can follow for your food menu design using Figma.
Create The Frame
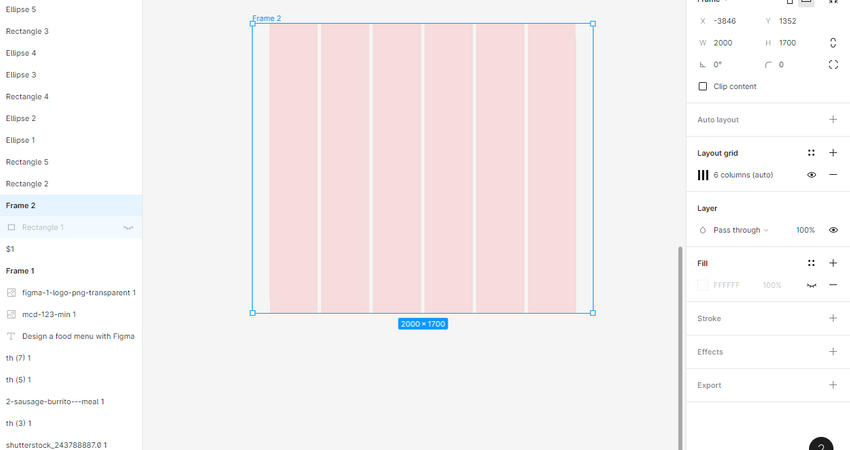
Usually, food menus are rectangular in shape. But you’ll also see some beautiful menus that are in the shape of some dishes. You can be creative here and choose any frame that you think will attract the customers.
Click on the ‘F’ button or select the frame icon from the top panel. Then change the dimension of your frame from the design panel.
Design the background
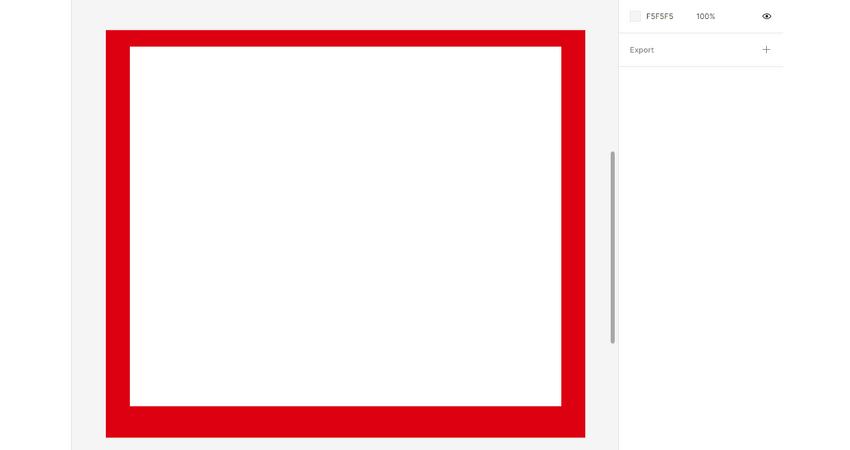
Bright colors are preferable for the food menu. You can be creative about selecting your color palette. Choose colors that increase appetite. Red, yellow, and black are some of the most common colors for food menus. Select your background and change the color from the color palette of the design panel.
Add the images
After you decide how your background will be, set the image of your dishes in the right place. you can add shadows or other effects to the images too.
You can ‘drag and drop the images or use the ‘place image’ option from the main menu. You can also use the ‘ctrl+shift+K’ as its keyboard shortcut.
Use the ‘Remove BG’ plugin for removing the background. Right-click anywhere on the design file, go to the ‘plugin’ option and choose ‘find more plugins’, then search ‘Remove BG’. The plugin will appear. Set the API key you’ll find in the ‘Remove BG website’ to start using the plugin. After activation of the API key, click on the image, and run the plugin to remove its background.
If you want to include any illustration you can also use different plugins or import the illustration into your design.
Include the item name and price
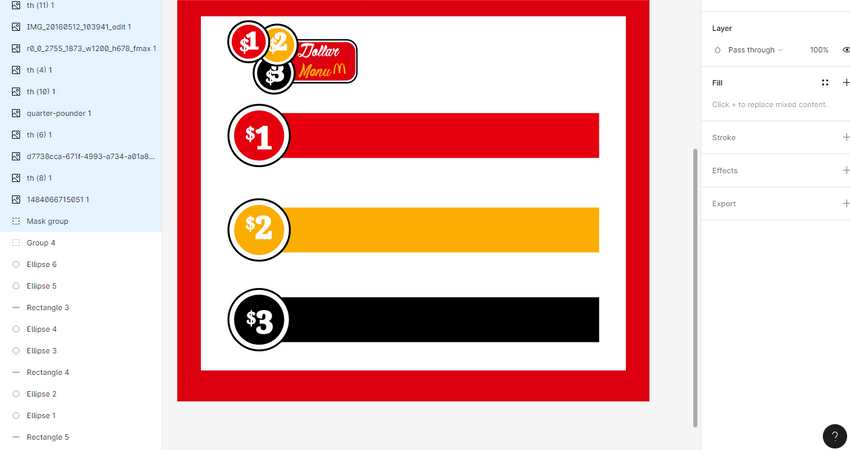
After placing the images of your dishes, it’s time to add their names. You can give creative names to your special dishes. Choose a font that looks good on the menu. Take inspiration from other restaurant menus. Add the price and main ingredients as well.
Click on the ‘T’ button on your keyboard to start a text layer and write whatever you need to write. You can change font style, size, color, and other properties from the design panel.
Add special offer
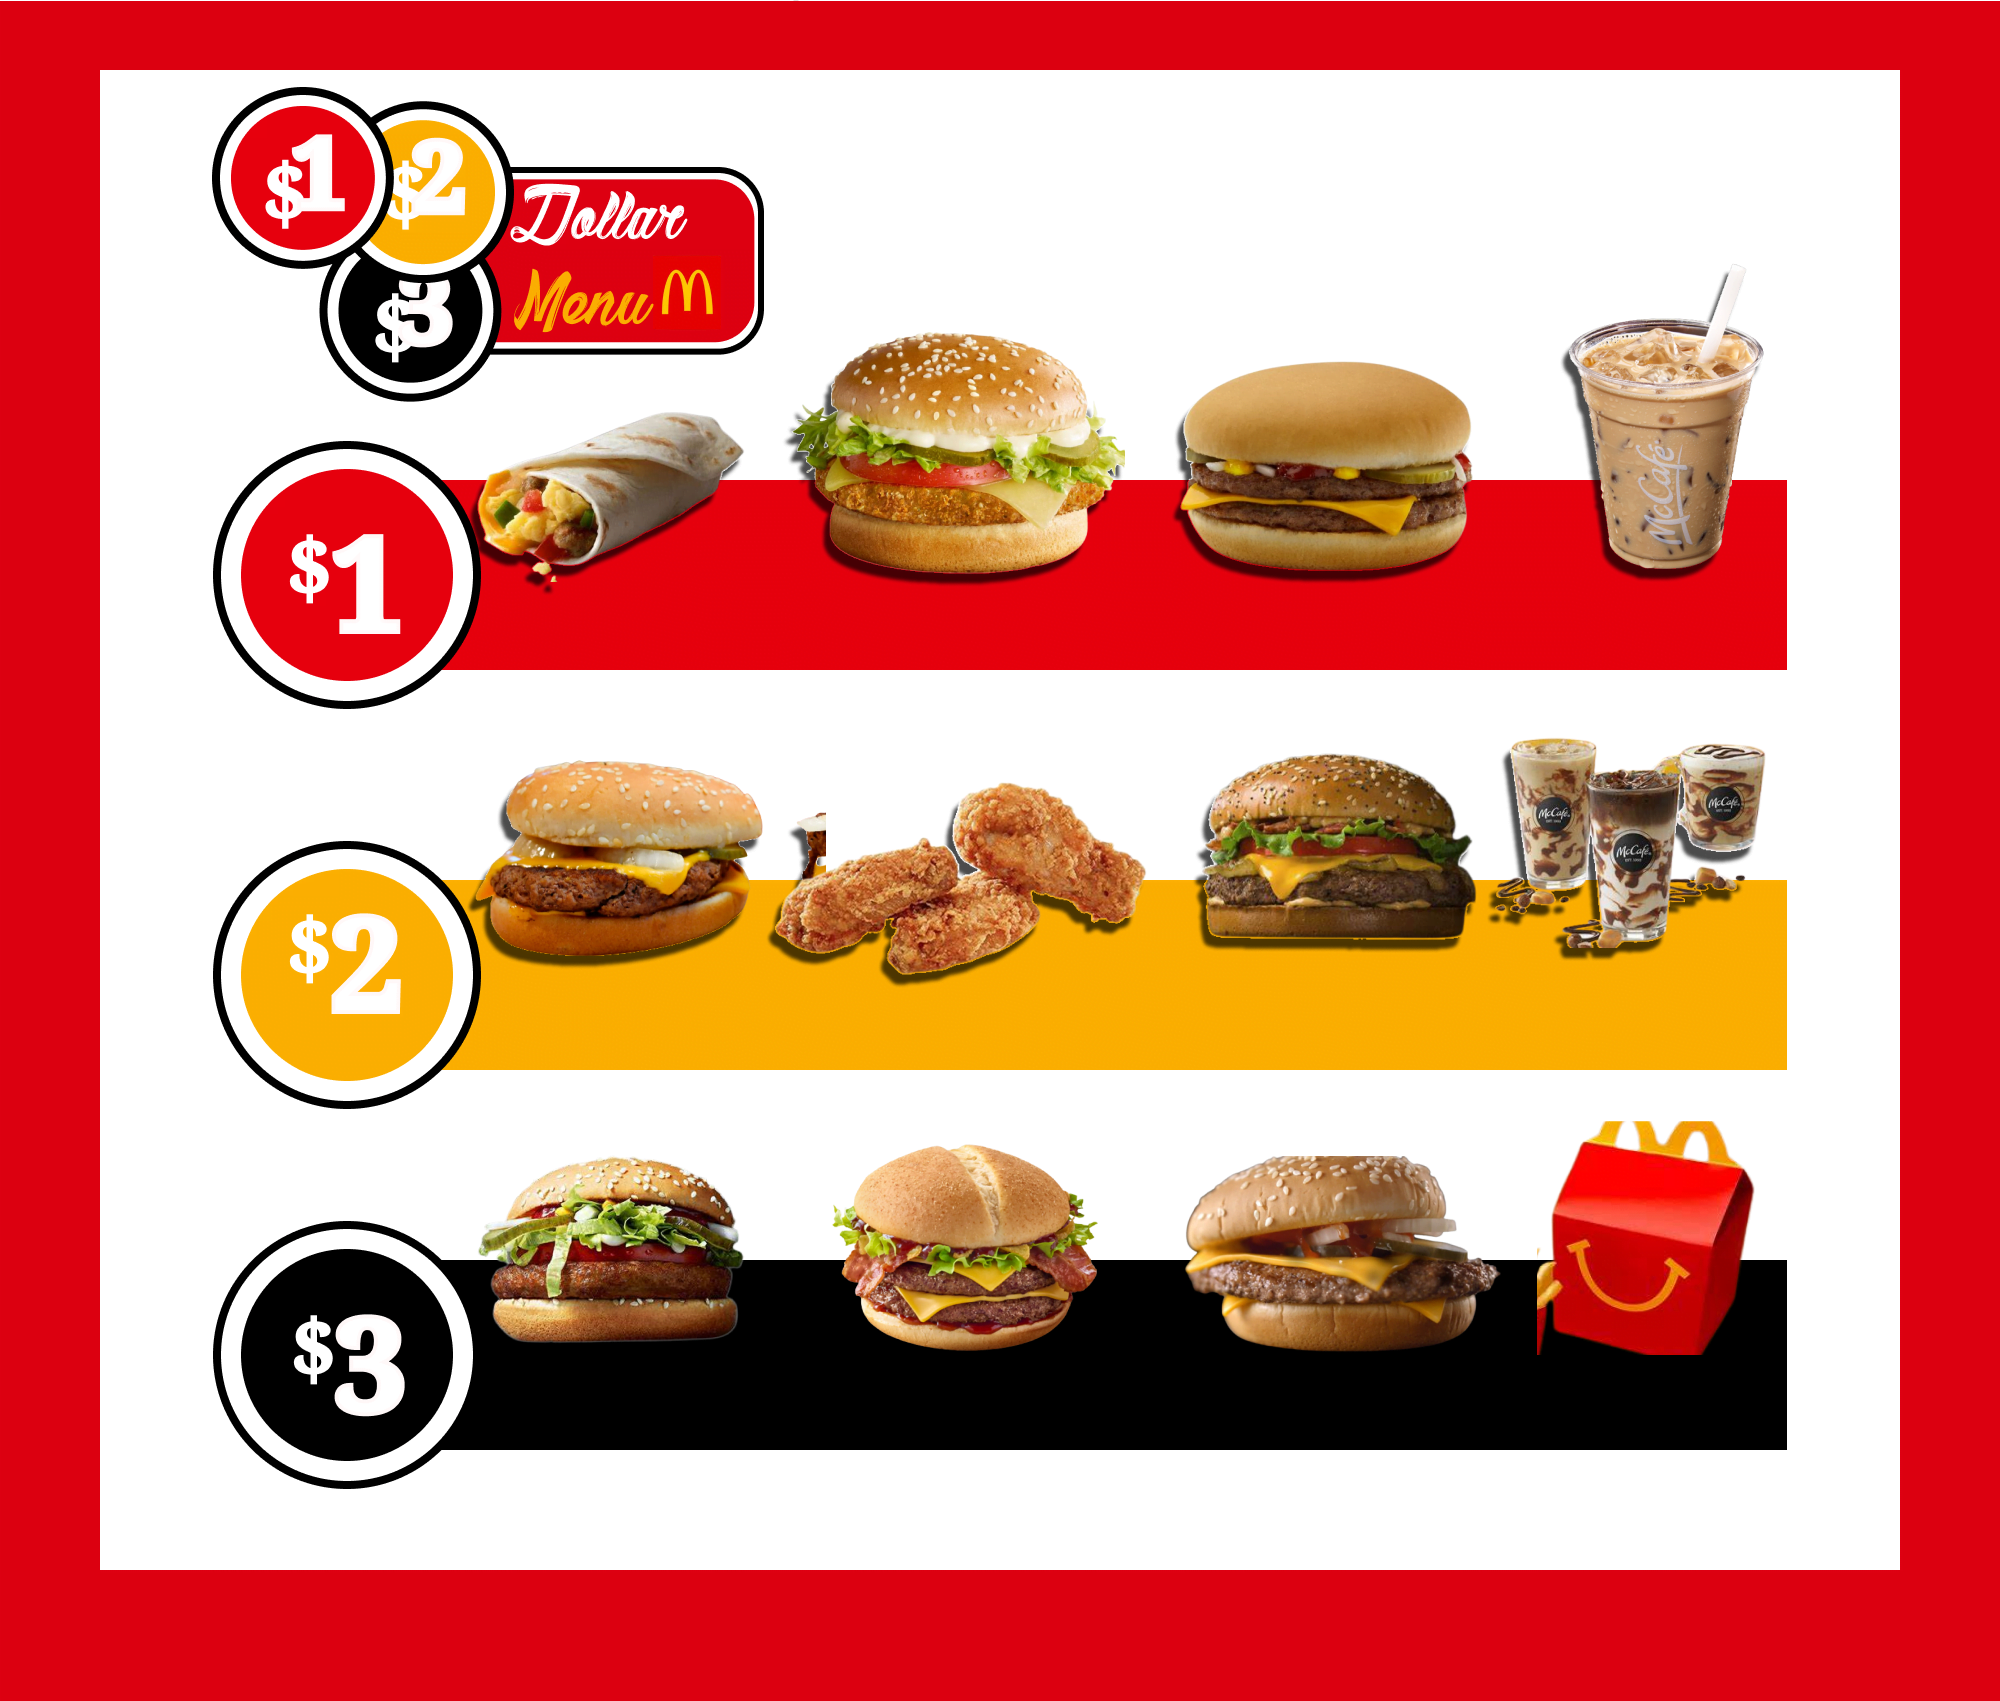
Restaurants often offer special discounts on different items. You need to highlight those discounts to attract your customers. Sometimes there is an entire menu based on different offers. But you’ll also find offers as part of the regular menu.
Finalize your design
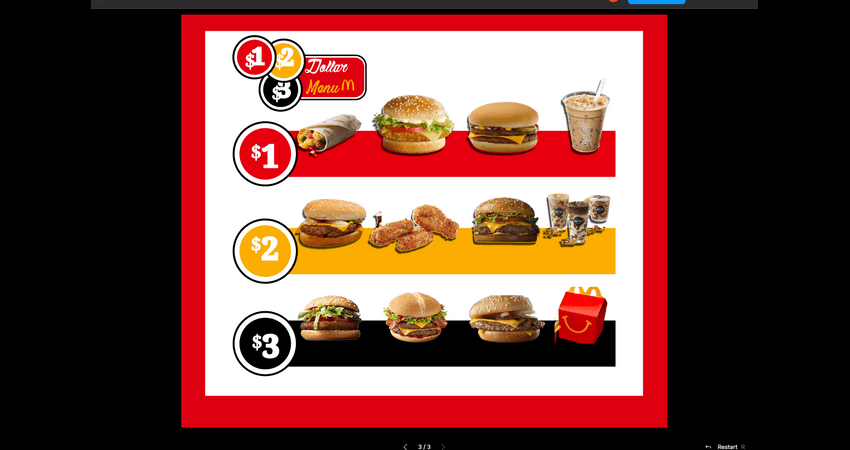
It is never too much to review your design before finalizing. Check the scaling and details of your design before you save it. You can save your design in multiple forms if you want the design to be editable, save it as an SVG file. You can also save it as JPG or PNG file. You can also share your saved design with others.
Final words
I hope the Figma food menu design steps have helped you. You can use these steps for other products as well. You’ll also find many Figma food menu templates to get a clear idea of what you want to design and how it will turn out. Enjoy designing with Figma. Don’t hesitate to ask any questions related to design. We are here to help you.

